ZBrush Zscript 04 - Macro Example - Matcap Assignments

General / 25 January 2019
[IButton,???,"Clear The Matcap assignment of all Subtools",

[VarDef,subtoolName,""] // Define a new variable to store the current subtool name 
[VarDef,subtool(1024),0] // Define a Variable list to store the subtool active index
[VarSet,totalSubtools,[SubToolGetCount]] // create a variable to define the number of loop based on the subtools count
[VarSet,activeSubtool,[SubToolGetActiveIndex]] // create a variable with the current subtool Index

// Select the first subtool in the list 
[If, activeSubtool==0,
   [SubToolSelect,1]
]

// Loop to fill every subtool with the Flat Color matcap until it runs out of subtools
[Loop, totalSubtools,
[SubToolSelect,[Val,n]]
[IFreeze,
[IPress,Material:Flat Color]
[IPress,Draw:M]
[IPress,Color:FillObject]
[IUnPress,Draw:M]
[IPress,Material:SkinShade4]
]
,n]

]

^This will CLEAR all assigned Matcaps from every subtool^

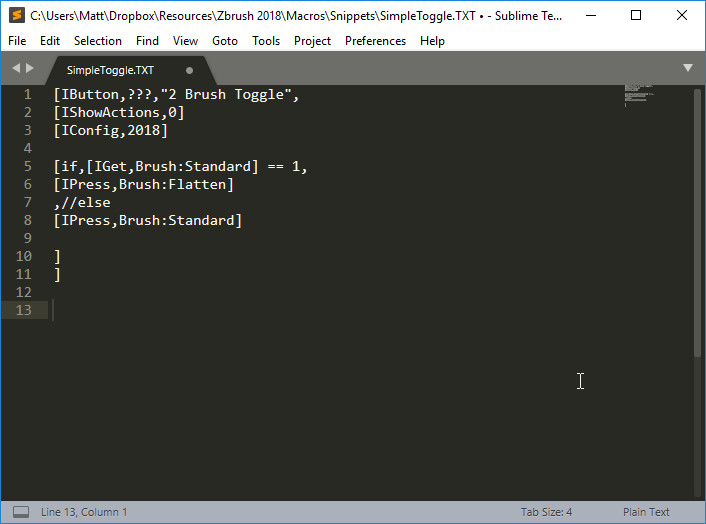
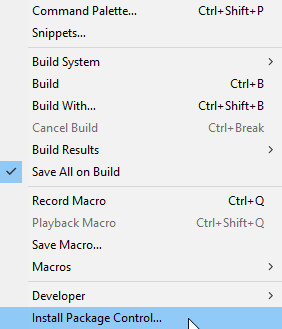
As before you can copy paste this script into sublime text and save as a text file in your macros directory  ex: "C:\Program Files\Pixologic\ZBrush 2018\ZStartup\Macros"

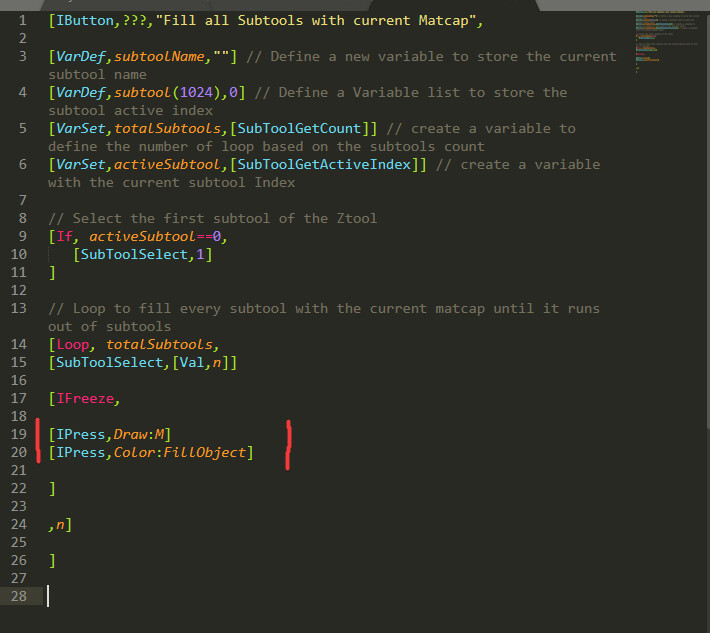
[IButton,???,"Fill all Subtools with current Matcap",


[VarDef,subtoolName,""] // Define a new variable to store the current subtool name 
[VarDef,subtool(1024),0] // Define a Variable list to store the subtool active index
[VarSet,totalSubtools,[SubToolGetCount]] // create a variable to define the number of loop based on the subtools count
[VarSet,activeSubtool,[SubToolGetActiveIndex]] // create a variable with the current subtool Index


// Select the first subtool of the Ztool
[If, activeSubtool==0,
   [SubToolSelect,1]
]


// Loop to fill every subtool with the current matcap until it runs out of subtools
[Loop, totalSubtools,
[SubToolSelect,[Val,n]]
[IPress,Draw:M]
[IPress,Color:FillObject]
[IPress,Tool:SubTool:SelectDown]
,n]


]
^This will ASSIGN CURRENT Matcap to every subtool^

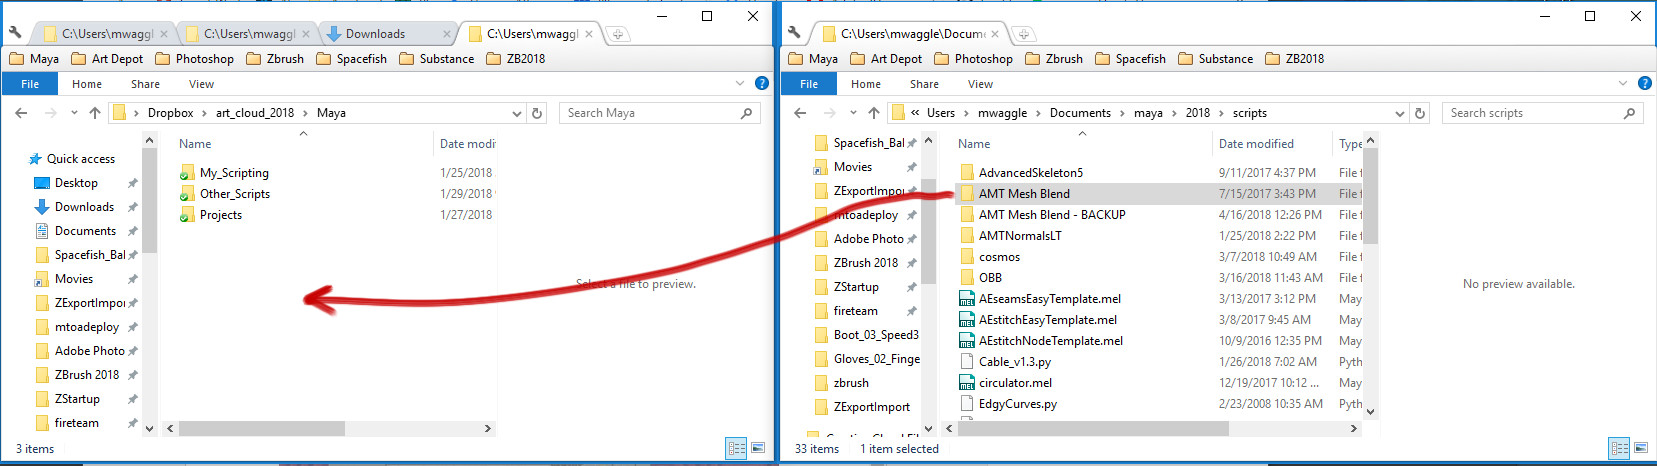
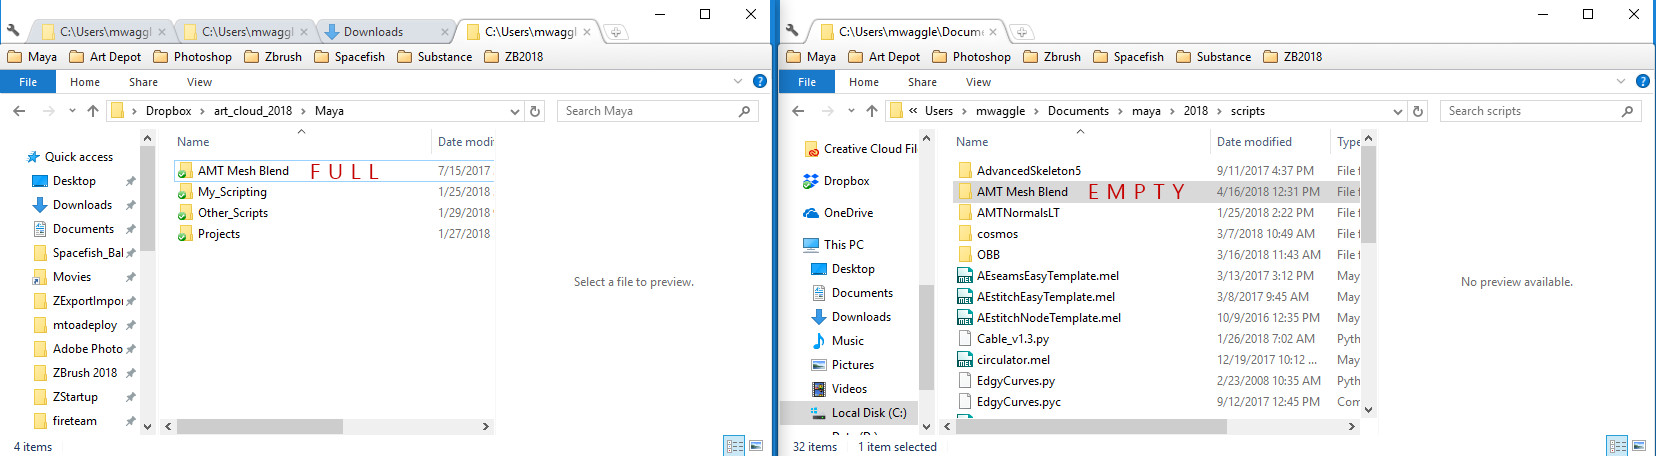
What does it do?  Often when moving a Ztool from one pc to another the matcap assignments will get mixed up.  

So this script:

1 - Stores all of the Subtools into a list

2 - Selects the first Subtool in that list

3 - Script 1 Works through each item (subtool) in the list and fills each one with the special "flat color matcap"..

Script 2 does something similar but instead of clearing the matcap it assigns whichever matcap is currently selected.

4 - The script stops when it runs down the list.

If you install them correctly you should now have two buttons in your macro menu named whatever you saved them as: 

Open one in Sublime it should look like this:


So the loop is set up - if you change the highlighted commands out with something else it will play that action out on all subtools.  Maybe you'd like to apply a polish or surface noise on all subtools.  Maybe a random rotation.  Experiment Good luck :)

Special thanks to https://puppet-master.net for sharing the above script examples I edited to help me understand using the loop on subtools.  His code and comments are very helpful.  I hope he uploads more examples!

Zbrush Zscript 01 - Setup

General / 19 January 2019

I've been Making progress learning more about Zscripting and Macros - I'm not a coder so if you are starting from 0 like I did maybe my notes will help you.

Important Links:

Zscripting Forum - Requires a lot of digging around but there's a few great resources and helpful users there.

Zbrush Command Reference - This will look confusing at first but as you learn more you will be referencing it all the time.

Sublime Text - Really the best option for this type of scripting - I'll show how to setup the Zscript syntax below:


1. Install Sublime Text - here I have a simple brush toggle macro open as an example (I hotkey this to switch brushes on the same hotkey.)


2. goto Tools>Install Package Control


3. Let this install finish then press "Control + Shift + P" and Begin typing and select "Install Package"


4. Then begin typing and select "Zscript"


5. Goto View>Syntax and select Zscript


6. If everything went smoothly you should now see your document in the zscript syntax like so:

Now you are ready to read other zscripts and make your own with good looking syntax!

Note: All credit and thanks due to Siew Yi Liang for making the syntax work in sublime!

In the next part I'll show how to make some useful macros using this setup.


Symbolic Links and Cloud Storage

General / 16 April 2018

If you work in multiple locations and on multiple PCs you might benefit from knowing about Symbolic links "symlinks".

Basically you are "tricking" windows into believing a folder exists in 2 places at once. What is the benefit of this?  If you are using cloud storage like dropbox or google drive etc.  You can store whatever you want to master folders - then create symlinks to them.  Photoshop, Maya, Zbrush or any program won't know the difference and all of your presets will be backed up and updated across all your PCs.


For example:  I find a brush I like - or make a kitbash model - I just save it as I normally would and the symlinks I've set up will update to my work and home pc.


How to set up a symlink:  

STEP 1 - BACKUP EVERYTHING FIRST YOU MIGHT MESS UP

Recommended APP:

https://sourceforge.net/projects/symlink-creator/


Step 2 - Close all your proggies

Step 3 - Move your Master Folder to your cloud storage.  Allow it to finish syncing with the cloud. 


Step 4 - Create an Empty Folder that will become the symlink.  This folder should be in the program directory and named the exact same.


Step 5 - Create the links!


Check the warning!  Is it replacing the empty folder as it should?


You should see the folder icon change - your link is established.  Now anything you save into this folder will sync with your cloud storage.  You can setup the same links on any other PC.

I've done this for brushes, kitbash models, scripts and macros etc.  As far as my art programs are concerned My home PC is a mirror of my work PC so anything I discover or make will sync up.  You can even have friends or co-workers share folders.

Try it out and ask me if you have questions or need help with this.